Setting Up Cowrie using Docker-Compose Link to heading
Requirements: Link to heading
- A VPS in the cloud
This tutorial uses Debian but any Linux distro should work as long as there is docker support. Just adjust the commands to use your distro’s package management or look on the docker engine installation page for commands
1. Install Docker and Docker-Compose Link to heading
I will be following the commands found on docs.docker.com with docker-compose added on.
This is not supported on Raspberry Pi’s
First step is to uninstall any old versions of docker that might be on your system. To do this just run:
sudo apt remove docker docker-engine docker.io containerd runc docker-compose
Set up the repository Link to heading
To do this first make sure your system is up to date using:
sudo apt update -y && sudo apt upgrade
Then install the requirements using:
sudo apt install ca-certificates curl gnupg lsb-release
Then add Docker’s Official GPG key:
sudo mkdir -m 0755 -p /etc/apt/keyrings
Then:
curl -fsSL https://download.docker.com/linux/debian/gpg | sudo gpg --dearmor -o /etc/apt/keyrings/docker.gpg
To set up the repository run:
echo "deb [arch=$(dpkg --print-architecture) signed-by=/etc/apt/keyrings/docker.gpg] https://download.docker.com/linux/debian $(lsb_release -cs) stable" | sudo tee /etc/apt/sources.list.d/docker.list > /dev/null
Then update the apt package index by running:
sudo apt update
If you have a GPG error when updating.
This may be because your default umask may be incorrectly configured, thus preventing detection of the repository public key file. Try granting read permission for the Docker public key file before updating the package index:
sudo chmod a+r /etc/apt/keyrings/docker.gpg
sudo apt-get update
Install Docker Engine and docker-compose Link to heading
To install the docker engine and docker-compose just run:
sudo apt-get install docker-ce docker-ce-cli containerd.io docker-buildx-plugin docker-compose-plugin docker-compose
The next step is to enable to docker service using:
sudo systemctl enable docker
Then:
sudo systemctl start docker
Testing Docker: Link to heading
To test that docker is running you can run the hello-world docker image:
sudo docker run hello-world
This should show an output similar to this:
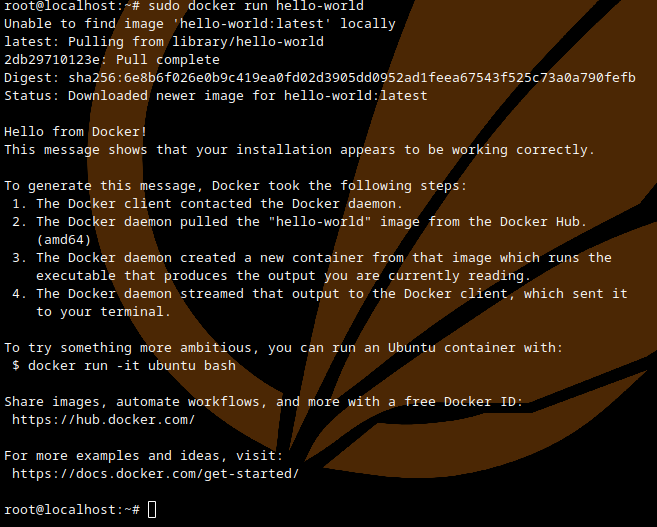
Docker is now installed correctly and running.
2. Changing the default ssh port: Link to heading
It is best to change the default SSH port and allow our honeypot to use the default one. To do this you need to edit the sshd config file.
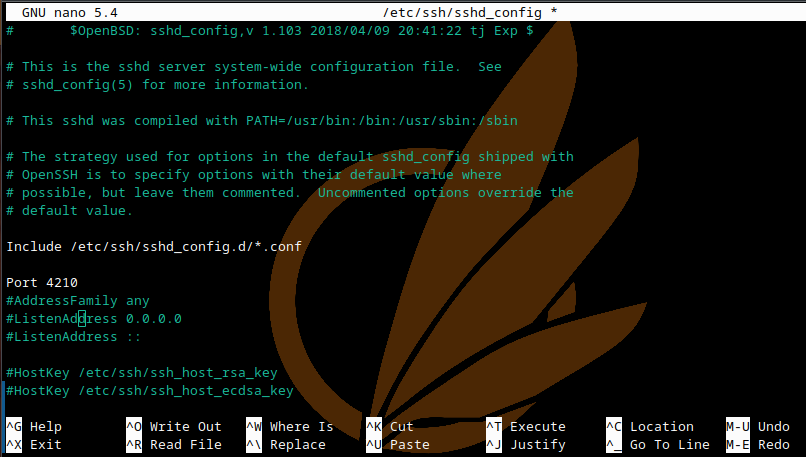
sudo nano /etc/ssh/sshd_config
In this file change the line #Port 22 to Port <portNumber> where <portNumber> is any port number that you would like. In this installation I am using port 4210.
After the edit it should look similar to this:
You should also disable the ssh banner to make it slightly harder to recognise the port. To do this uncomment line 110 from the ssd_config file:

It is also here where you disable the password authentication if you are using ssh keys to authenticate though I will not be going through how to do this in this tutorial.
SSH keys are more secure than using a password so doing so would be a good idea if you know how or find a tutorial.
(A tutorial might come at a later date on this site.)
Now exit and save the config file and restart the sshd service using:
sudo systemctl restart sshd
If you have a firewall on your server then it is best to allow the new port through it.
UFW example command:
sudo ufw allow 4210
Then exit the ssh session and try to login to your server using the different port.
The exit command exits the current session.
To ssh using a different port use:
ssh <username>@<ipaddress> -p <port>
This should let you in, if it doesn’t then you might have a firewall blocking the connection either on your server or on the machine you’re connecting from. You might have also incorrectly configured ssh on your server so try to ssh in using the default port and check your config files.
3. Installing Cowrie using docker-compose: Link to heading
First it is best to keep everything within a folder called cowrie to keep things organised. To do this make a new directory called cowrie using:
mkdir cowrie
Then change your working directory into the cowrie folder using cd
cd cowrie
Next is to create the docker-compose.yml file that will hold the configuration for the cowrie docker image:
nano docker-compose.yml
Within the docker-compose.yml file you should put your cowrie docker configuration:
version: '3.3'

volumes:
  cowrie-etc:
  cowrie-var:

services:
    cowrie:
        ports: # The first number is the outside port and the second number is the inside port
            - '22:2222'
            - '23:2223'
        volumes:
            - cowrie-etc:/cowrie/cowrie-git/etc
            - cowrie-var:/cowrie/cowrie-git/var
        image: cowrie/cowrie
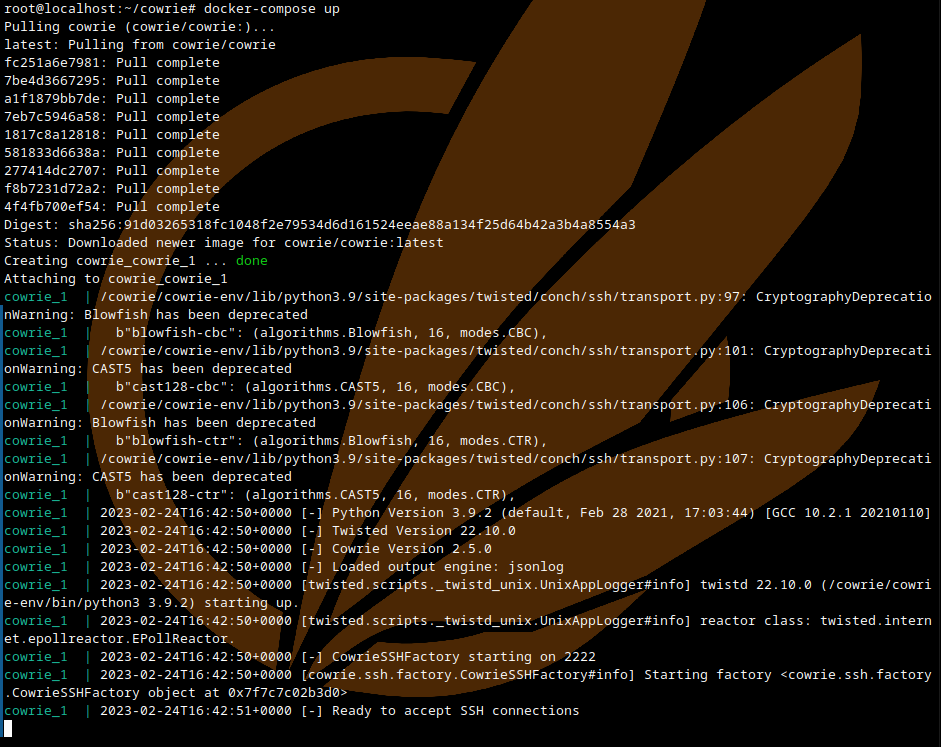
After saving and exiting the docker-compose.yml file you should now be able to run:
docker-compose up
And the cowrie docker image should download and start.
It should look similar to this screenshot:
To run the cowrie in the background run:
docker-compose up -d
4. Creating links to the docker volumes Link to heading
To make viewing and configuring of cowrie easier you can create links to the docker images mount points.
To get started doing this first create the directories that the links will be linked to.
mkdir var && mkdir etc
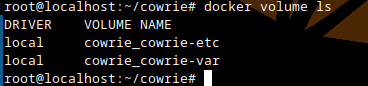
Now we need to find where the docker volumes are mounted on the system. To find out what they are called we first run:
sudo docker volume ls
This should show all the volumes that docker has. The ones that we want are generally called cowrie_cowrie-etc and cowrie_cowrie-var as seen in the screenshot below.
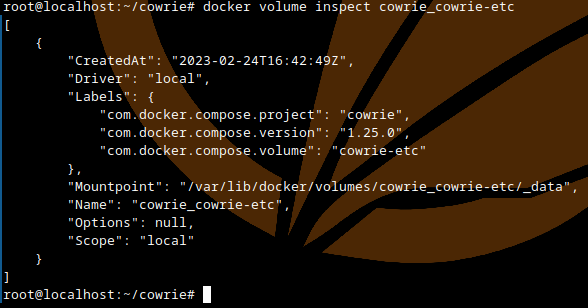
Now to view the mount points for the volumes you just need to run the command:
docker volume inspect <volumeName>
We are looking for the mount point so for the image below it is.
/var/lib/docker/volumes/cowrie_cowrie-etc/_data
To create the link to the mount point you just need to run the command:
ln <mountPointDir> <folderToLinkTo> -s
So for the volume above we need to run:
ln /var/lib/docker/volumes/cowrie_cowrie-etc/_data etc -s
Repeat the link with all the volumes that you want.
For cowrie it is just the var directory:
ln /var/lib/docker/volumes/cowrie_cowrie-var/_data var -s
You should now be able to cd into the folders var and etc and explore the folders and files that are in there.
Within the var directory should have all your cowrie logs and downloaded content.
Within the etc directory should have the configuration files for cowrie.
5. Configuring cowrie: Link to heading
If you would like to configure cowrie you need to create a cowrie.cfg file within the etc directory and add your configurations in there.
Though for me I could not get that working correctly so I’m directly editing the cowrie.cfg.dist file.
This should not be done on an actual long term deployment of cowrie as any updates will replace this file. but due to the short term nature of the course work that this is for it doesn’t matter.
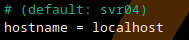
Within the config file you should change the hostname from svr04 to something else.
To enable telnet, change the line 648 from false to true.

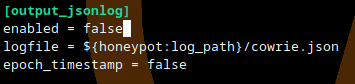
If Json logging is not needed you can disable it by navigating to line 711 and changing true to false.
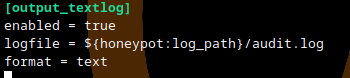
You should enable text-based logging so you can monitor and store any events that occur.
To do this navigate to line 793 and change false to true.
I would advise you to look through the rest of the outputs that cowrie can log to just in case there is one that you would like to activate.
An example of this is the discord webhook output on line 1050 where cowrie will log any events to a discord channel. To enable this change enabled to true and for the URL create a new webhook to a channel within discord and replace the URL with the webhooks one.

If you are within the UoP and need a webhook to my logging server either DM me on discord or ping me within the general channel and I will create one for you in a private channel.
Now that all your configuration is complete save and exit out of the config file. You should then clear all the old logs from the logs folder and start cowrie.
Clear logs Link to heading
To clear the logs, navigate into the var directory and then log then cowrie
cd ~/cowrie/var/log/cowrie
Once within this directory run the following command that will delete all the cowrie logs within the folder.
rm cowrie.*
Now cd back to the directory containing the docker-compose.yml file.
6. Running cowrie with the changed config Link to heading
To run cowrie just run:
docker-compose up -d
This runs cowrie in the background and any events should be logged in the log file or/and to the discord channel if set up.
Any comments are welcome by sending me a message in discord or pinging me.